How to Set Up Your First Figma File (Super Easy Beginner Guide for 2026)
How to Set Up Your First Figma File (Beginner Guide)
If you just signed up for Figma and are staring at a blank screen, this guide is for you. Learning how to set up a Figma file the right way from the start will save you a lot of confusion later.
In this guide, you will learn the three things every beginner needs to understand: frames, layers, and pages. Once these click, everything else in Figma becomes much easier.
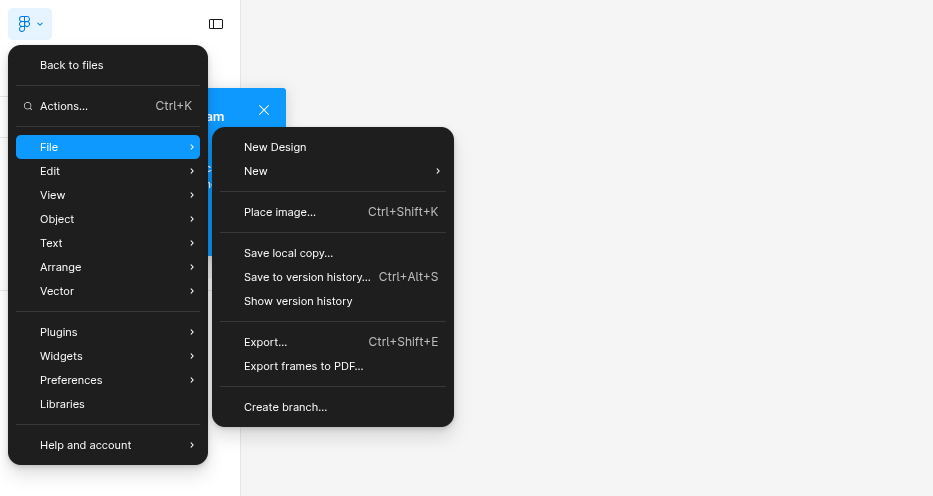
Step 1: Create a New Figma File
To set up a new Figma file, log in at figma.com and click New design file on your dashboard. You will land on a blank canvas. Think of this as an infinite whiteboard where all your designs will live.
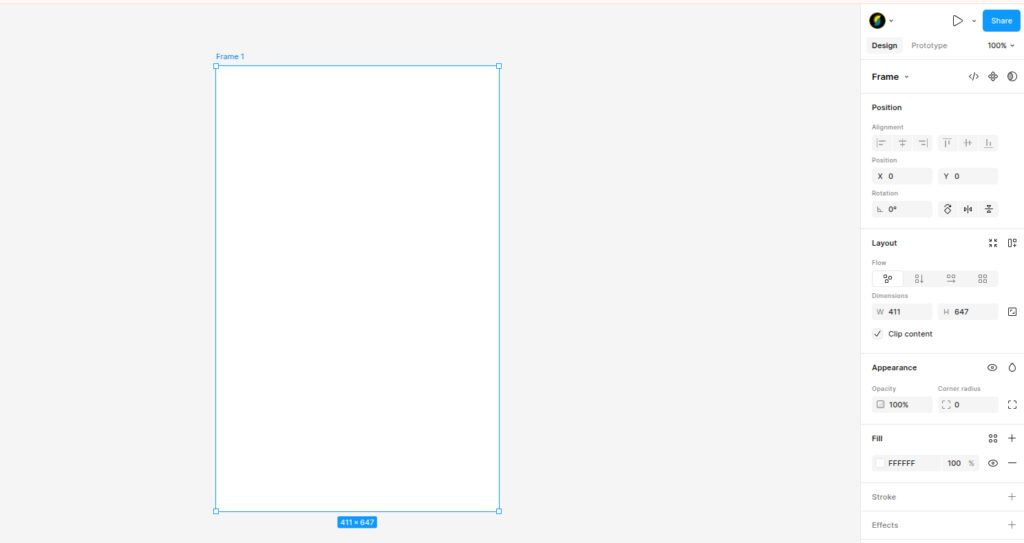
Step 2: Understand Figma Frames
A frame is a fixed area where you design your screen or component. It is the most important element in Figma. Every screen you design will sit inside a frame.
To create a frame:
- Press F on your keyboard
- Click and drag on the canvas to draw your frame
- Or use a preset size from the right panel (iPhone, Android, Desktop, and more)
Frames are not just for full screens. You also use them for buttons, cards, and navigation bars.
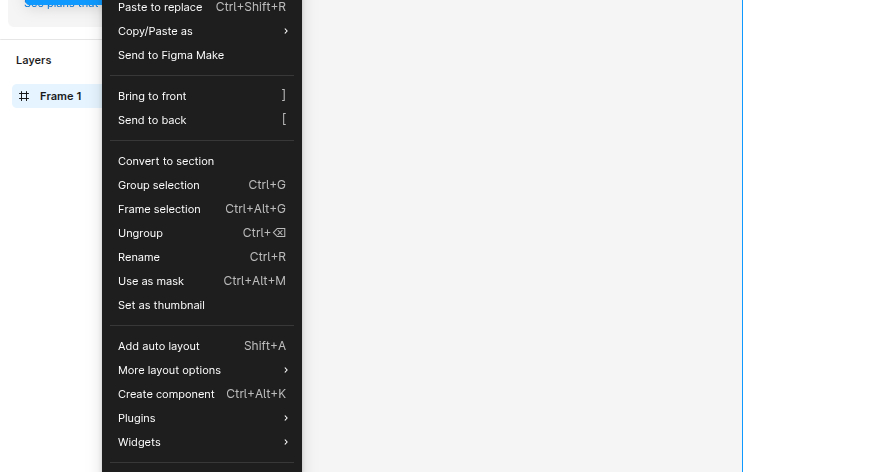
Step 3: Understand Figma Layers
Every element you add to a Figma file shows up in the Layers panel on the left side of the screen. Layers stack on top of each other, and the layer at the top of the list appears in front visually.
Three things to know about layers:
- Rename layers by double-clicking the name in the panel
- Group layers by selecting them and pressing
Cmd+G(Mac) orCtrl+G(Windows) - Hide layers by clicking the eye icon that appears on hover
Get into the habit of naming your layers clearly. A clean layers panel will make your design file much easier to work with.
Step 4: Understand Figma Pages
Pages are like tabs inside your Figma file. You can use different pages to organize your work. A simple setup looks like this:
- Page 1: Cover (project name and details)
- Page 2: Wireframes (rough layouts)
- Page 3: UI Designs (final screens)
- Page 4: Components (buttons, cards, icons)
To add a new page, click the + icon next to the Pages section at the top of the Layers panel.
Step 5: Save and Name Your File
Figma auto-saves everything to the cloud, so you do not need to worry about losing your work. To rename your file, click the file name at the top center of the screen and type a clear name like AppName – v1.0.
Quick Recap
| Concept | What It Is | Shortcut |
|---|---|---|
| Frame | Container for your design | F |
| Layer | Any element you add | Lives in the left panel |
| Group | Multiple layers combined | Cmd/Ctrl + G |
| Page | Tab within your Figma file | Click + in Pages panel |
What is Next?
Now that you know how to set up a Figma file, the next step is learning Auto Layout. It is how you build designs that actually scale and respond. Check out our next guide: How to Use Auto Layout in Figma Without Getting Confused.
If there is something that you need us to address or a guide you want us to work on, feel free to send us an email and we will deal with that topic!!